
Thursday, 29 January 2015
Day 63
Today I finished my Earth Animation. I'm pretty surprised on how it came out. So here is my animation that I created.
Wednesday, 28 January 2015
Day 62
I'm still working on the animation but I'm finally getting the results that I want. I'm almost finished I just need some finishing touches.
Day 61
Here I'm working on the filming my animations and how the earth rotates. This is kind of a hit and miss thing but I will probably get the results I want.
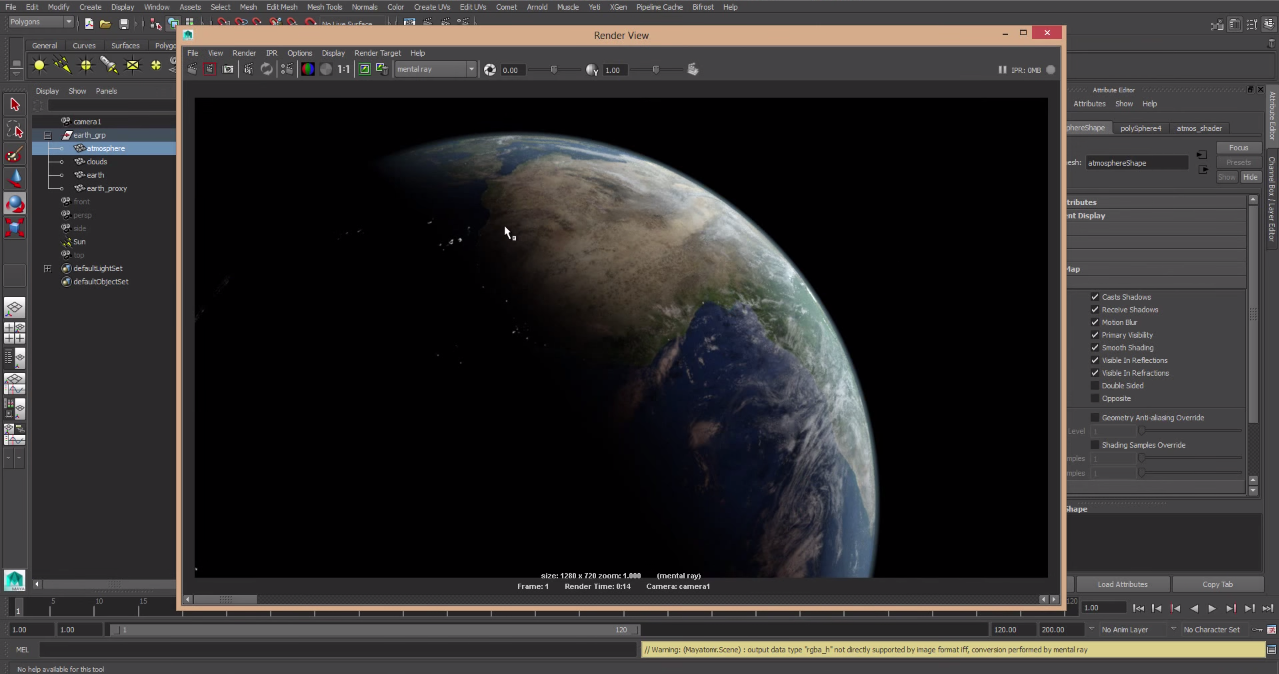
Day 60
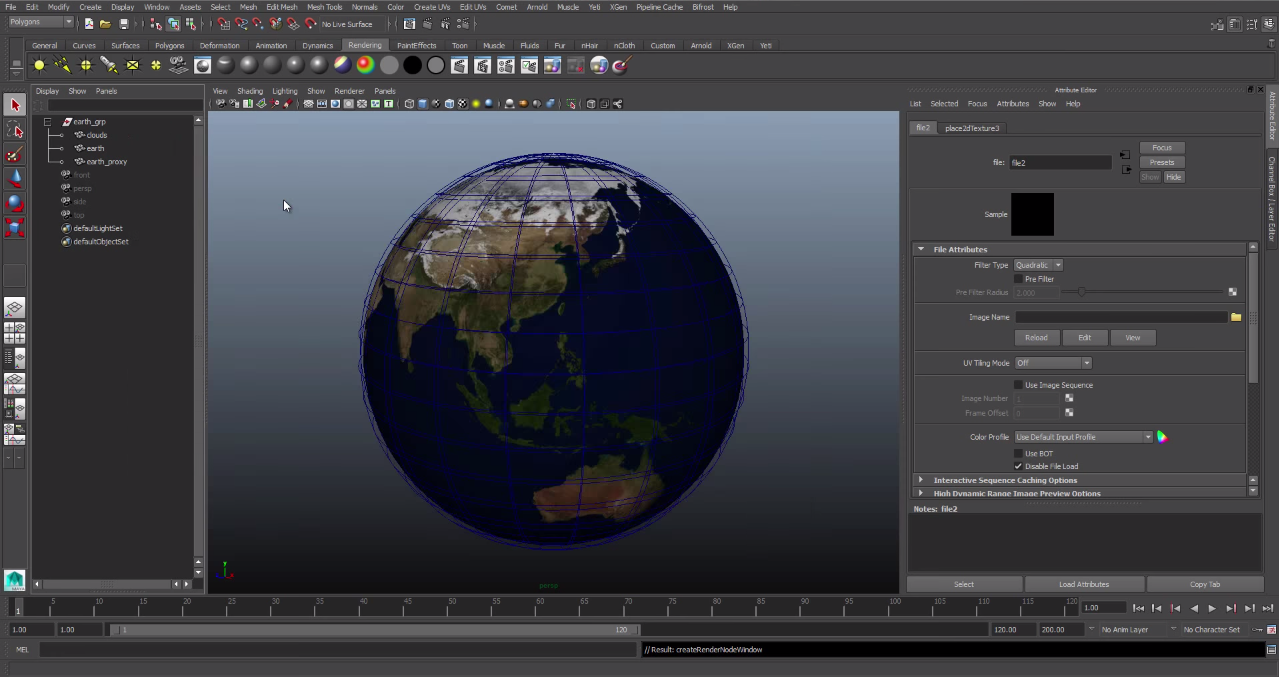
Here I found one of the best images that I rendered. So I began to work on the attributes on how I wanted to animation to play out.
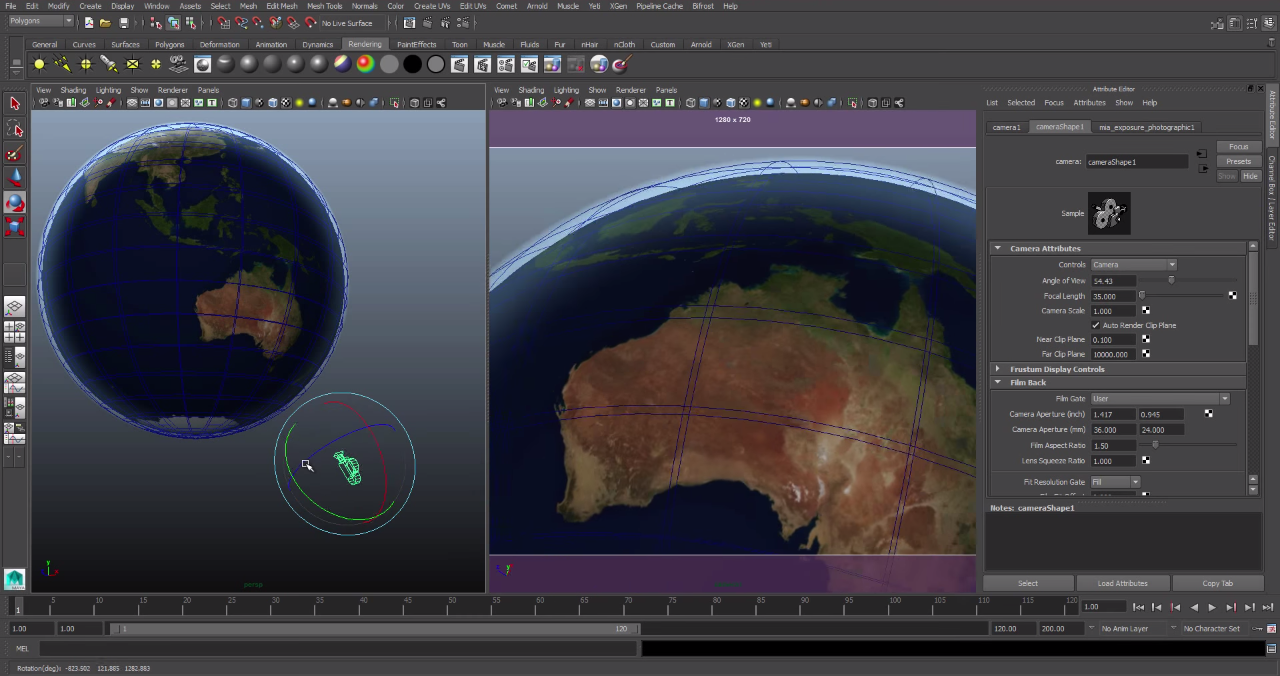
Day 59
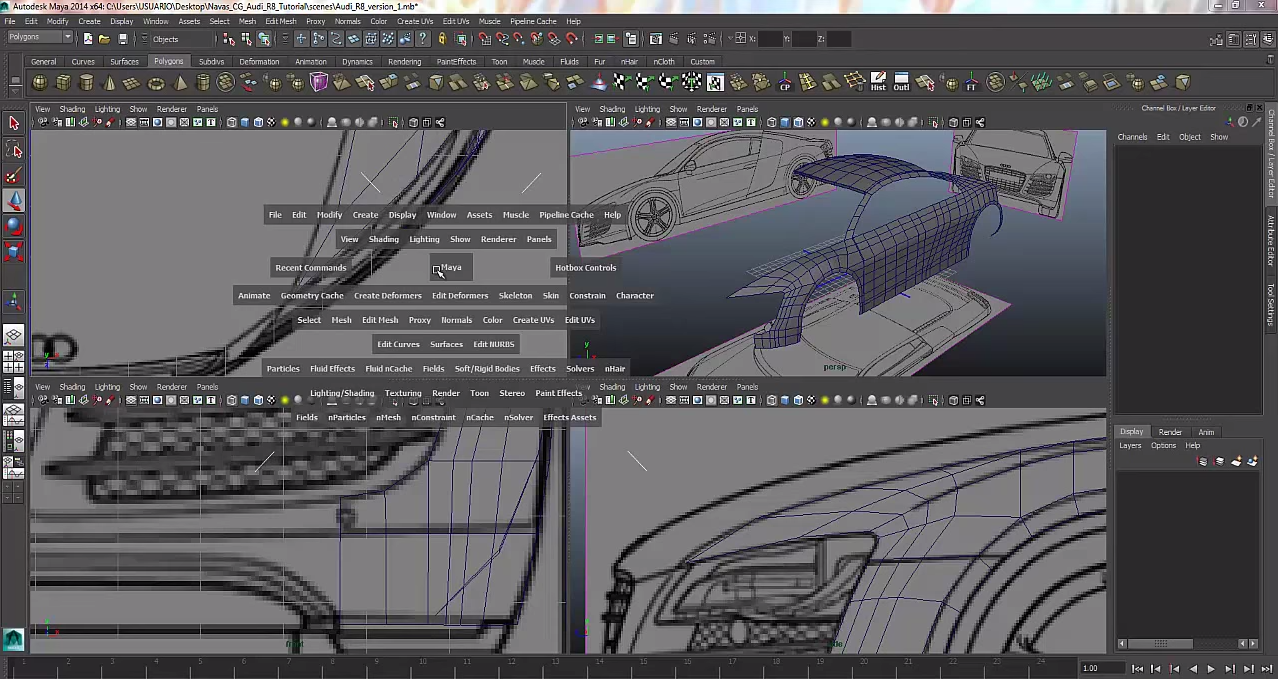
Here I'm working on the camera angle for the filming of the animation. I didn't quite know on where to angle the camera but I just tried in different locations in order to get it right.
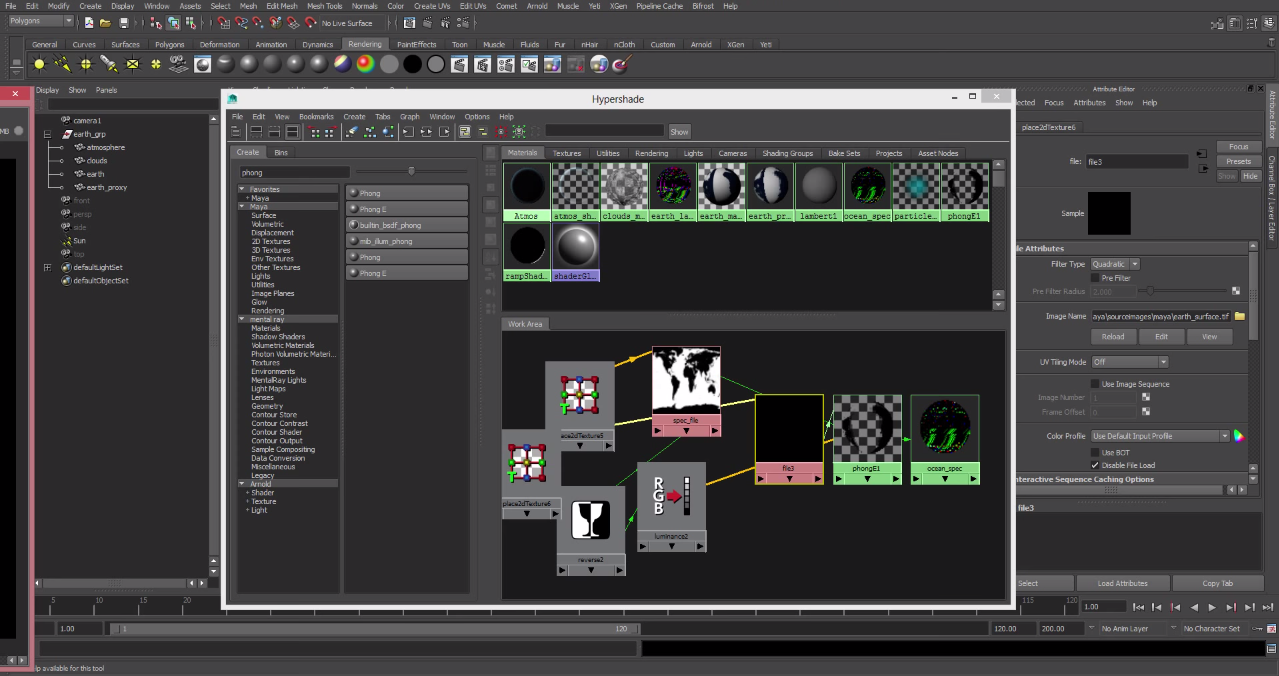
Day 58
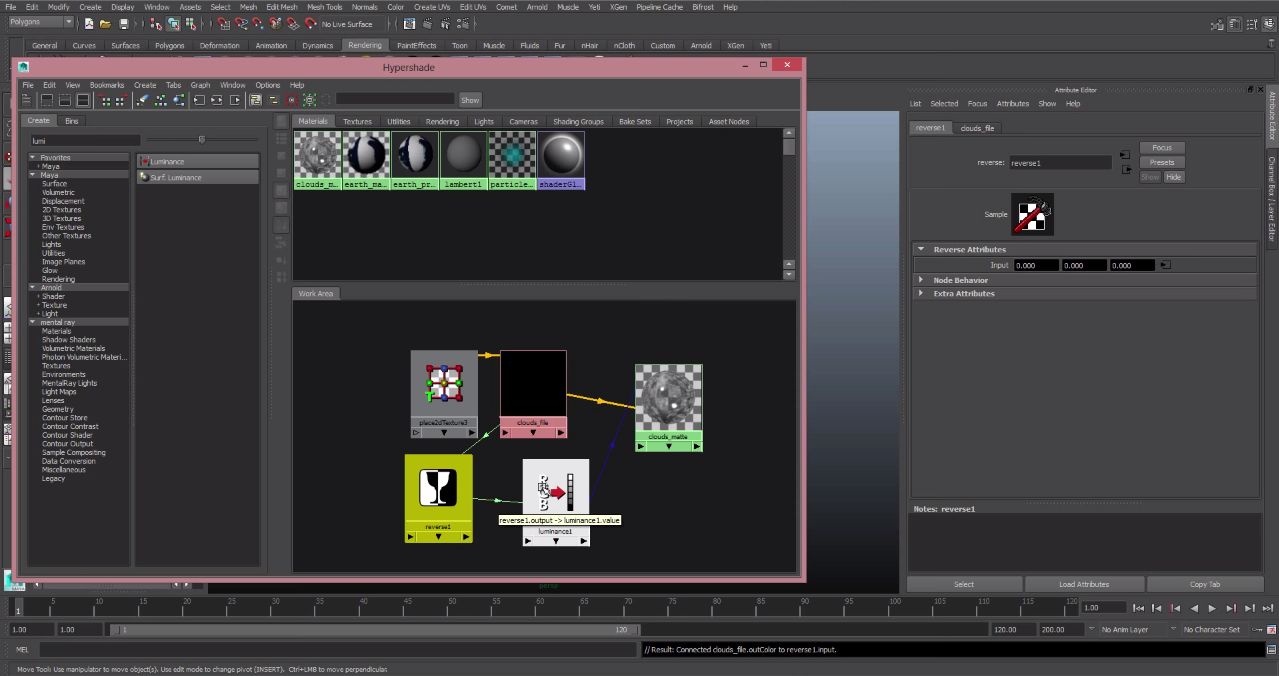
Now that I've changes the image I once again need to change the nodes in order to get the image to look real. Since they are two images i need to work on two sets of nodes in order to get t his right.
 his right.
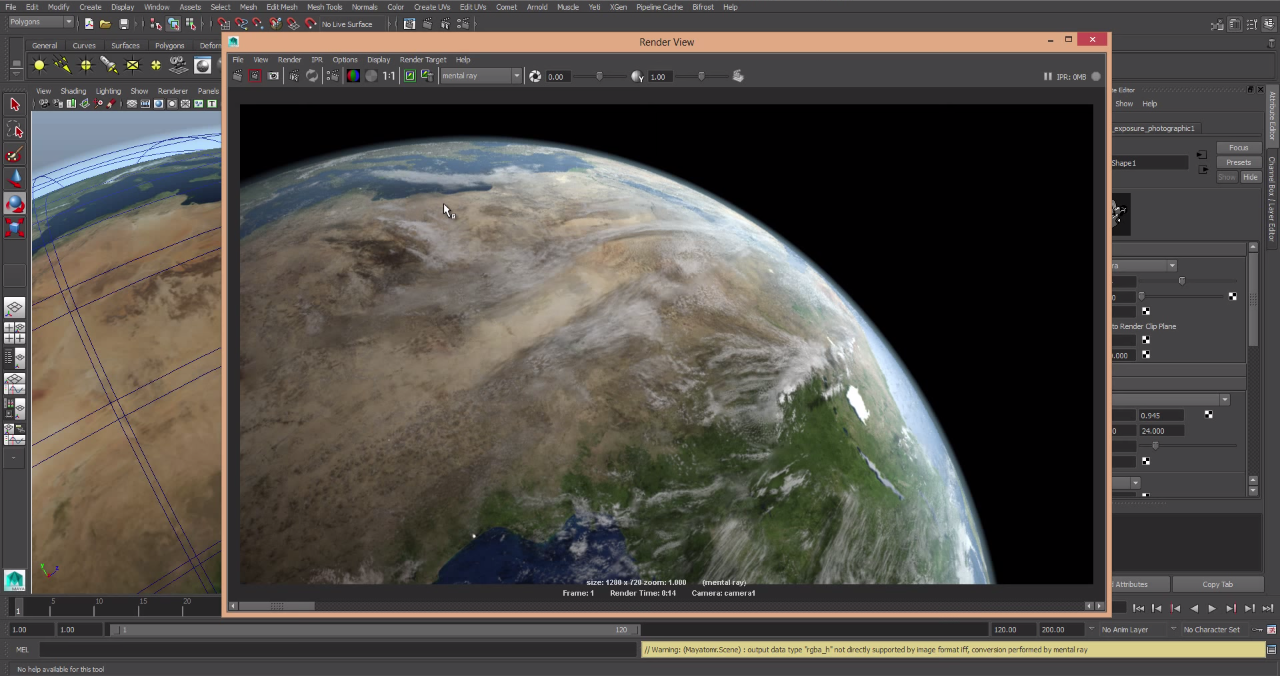
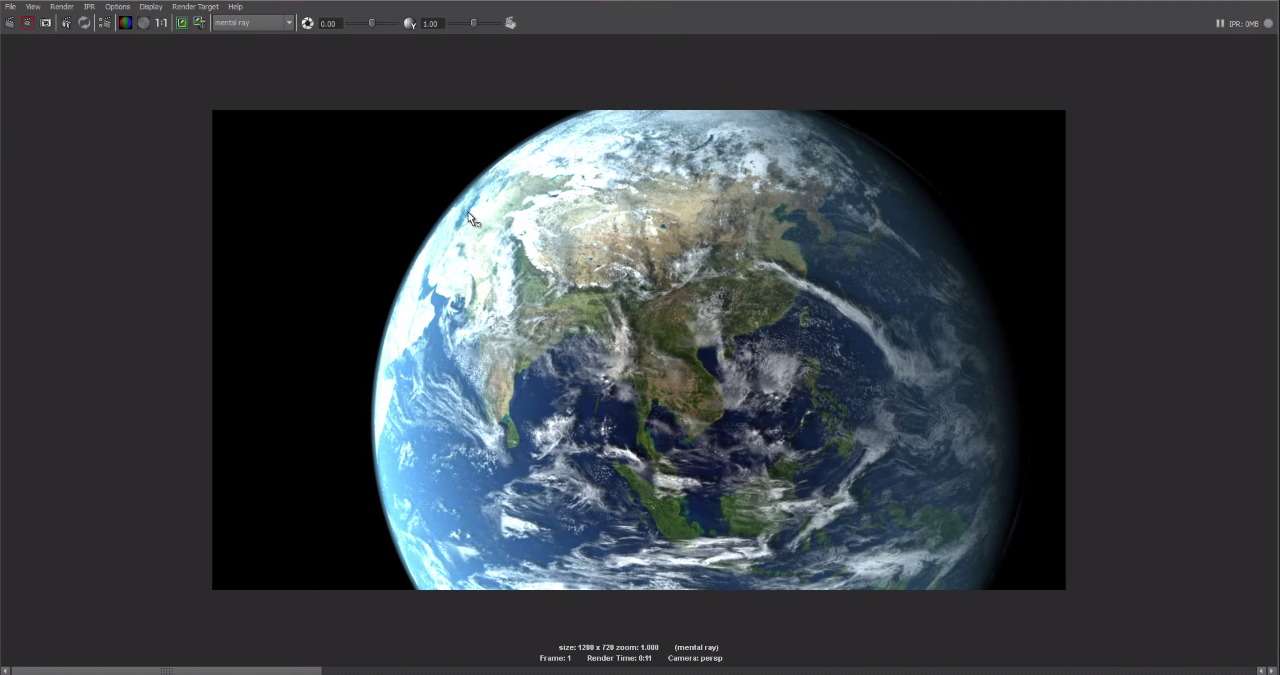
Day 57
Today I finally got the image that I want after tons of editing the images. I also need to layer the images properly so they would look real. SO this is the image that I got in the rendering.
Day 55
Today I'm still working on combining the images but I'm still having trouble to make trouble trouble making it look like one image.
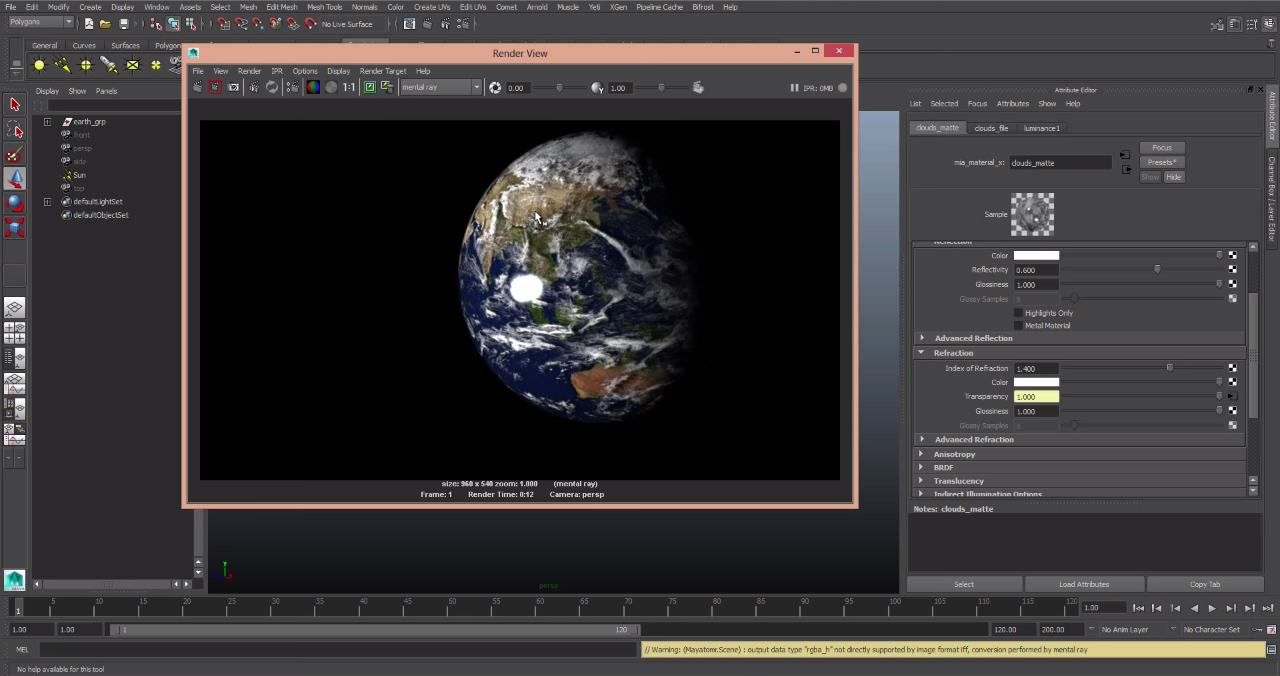
Day 56
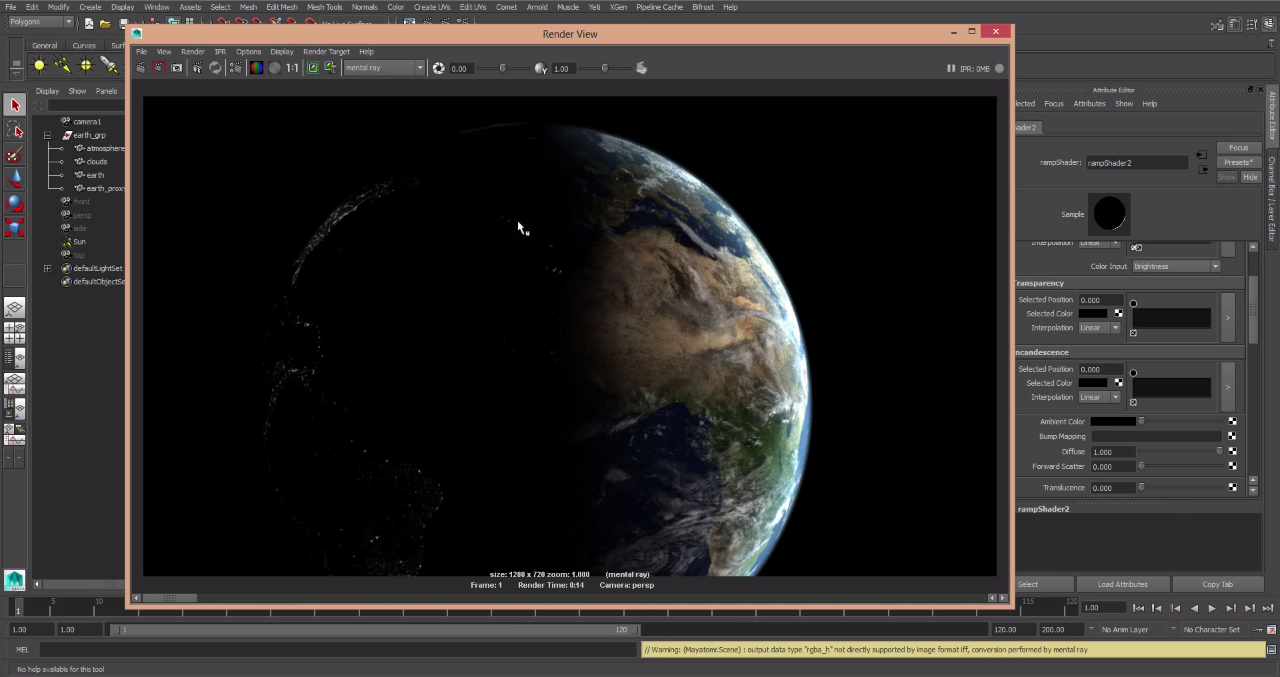
Here I'm taking another image of the earth and combining it with the previous one. The second image is an image of the earth with the one side of the earth dark but with manmade lights that are visible. So I've been trying to combine the images but it isn't working that well.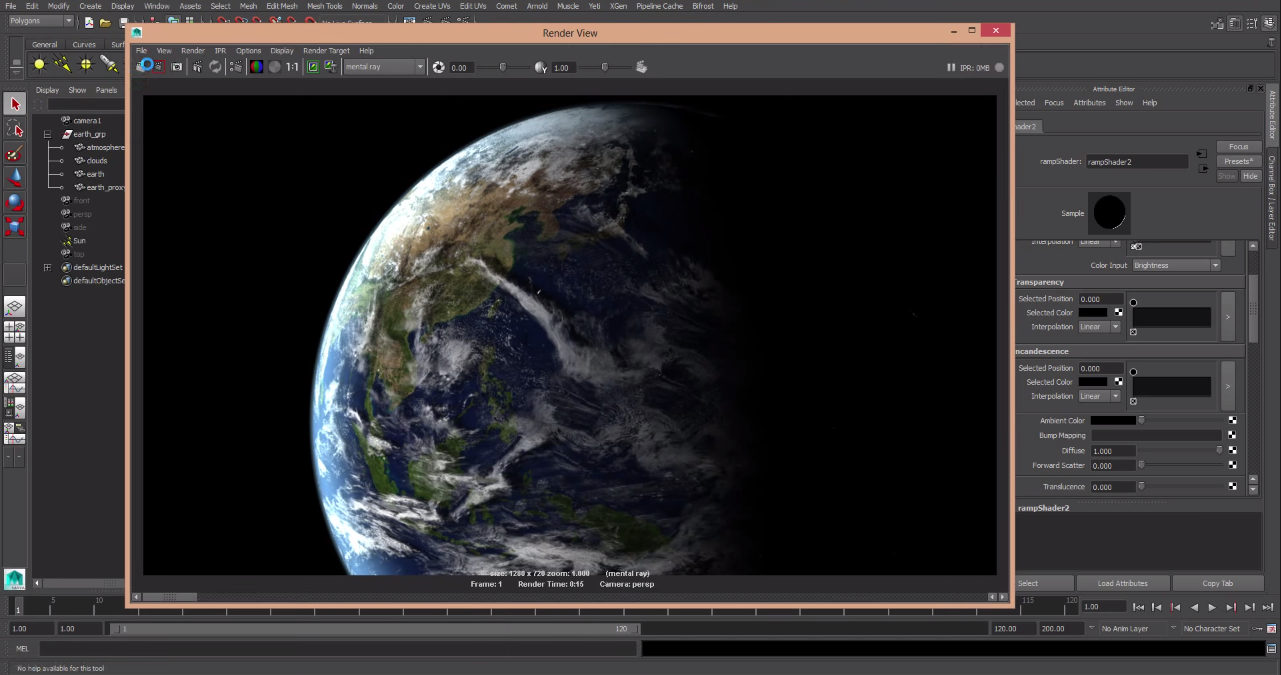

Day 55
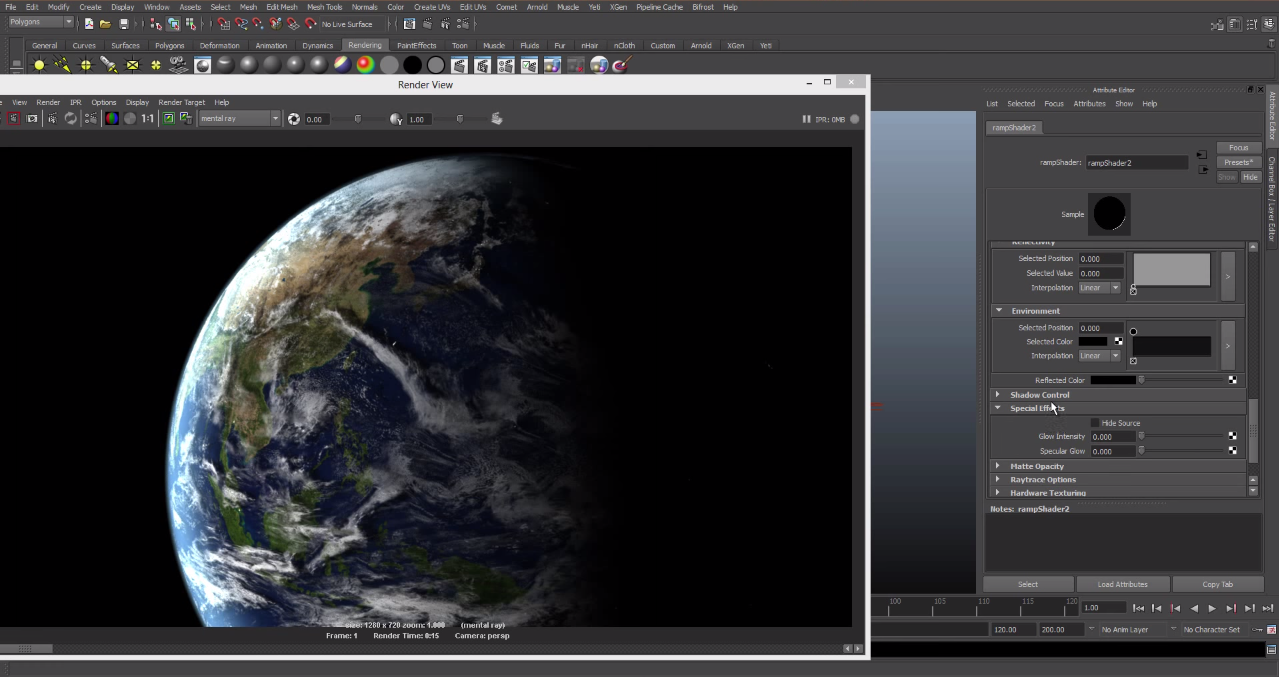
Today I'm just working on the visual aspect of this animation because that is a very key detail. So I started by working on how sharp the image looks and on how soft the lighting is and by the end of today I was very happy on how the rendering looked.
Day 54
Here you see me working on more nodes in the left tab. These nodes I'am using for shading. These nodes require lots of work because I want to make this animation to look as real as possible in this program and I thing it's looking great without being finished.
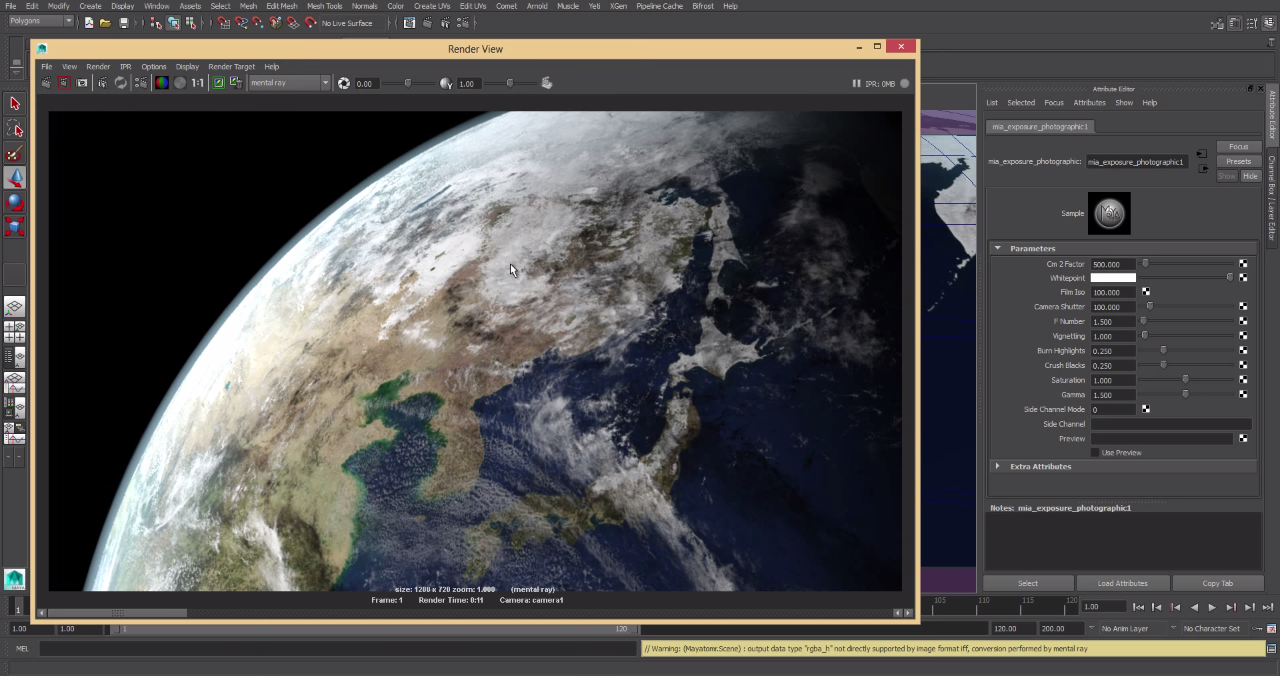
Day 53
In today's picture you can see that I changes the position of the earth and worked on the exposure on the right tab. It was kind of confusing for a while but this is kid of a hit and miss type of project.
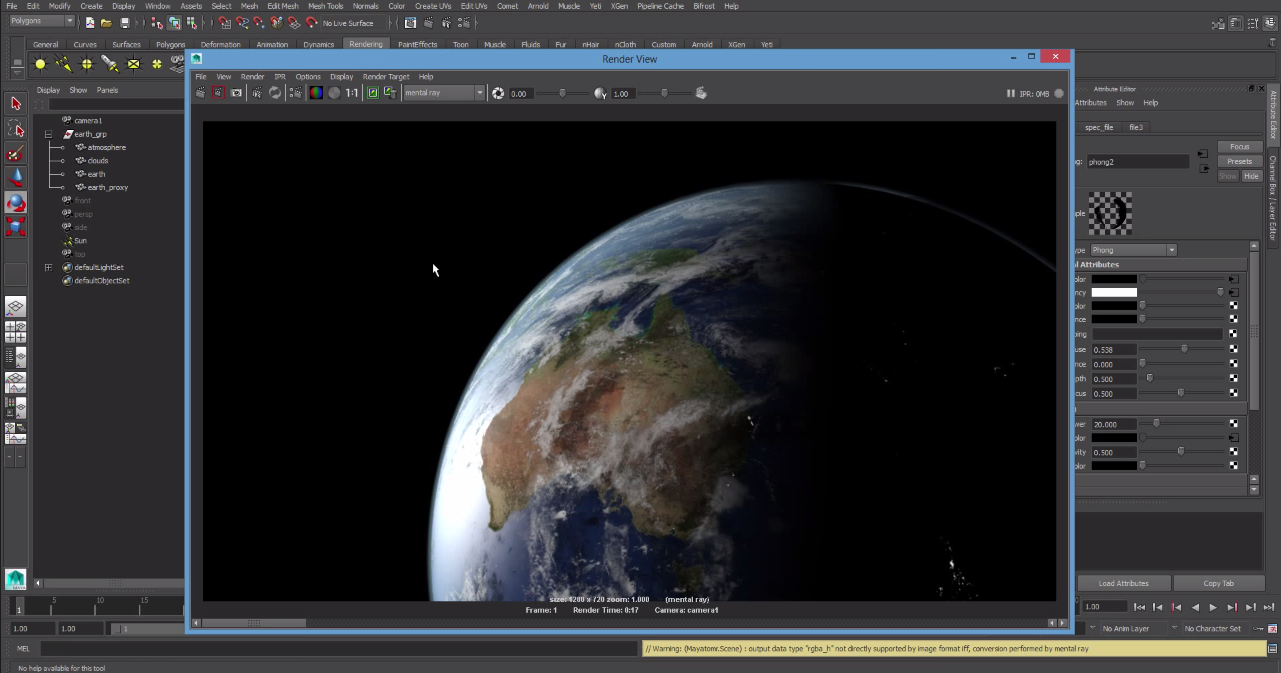
Day 52
So today I finally got the shading right on the earth after a little while. In the other Maya project it was more visual but in this project it requires more none visual work. So here is a rendering of the atmosphere with the earth.
Day 51
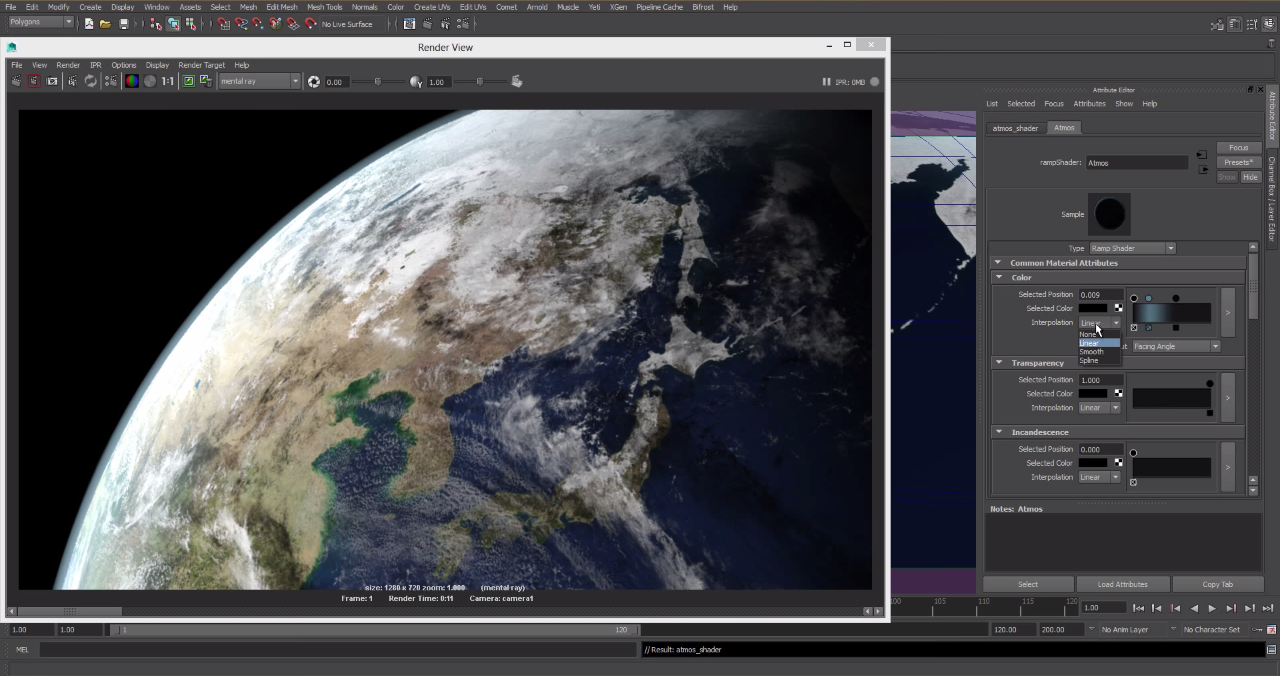
Here you can see me working on how intense the atmosphere looks. So for the mean while I hid the earth to find the right shade I wanted it to be.

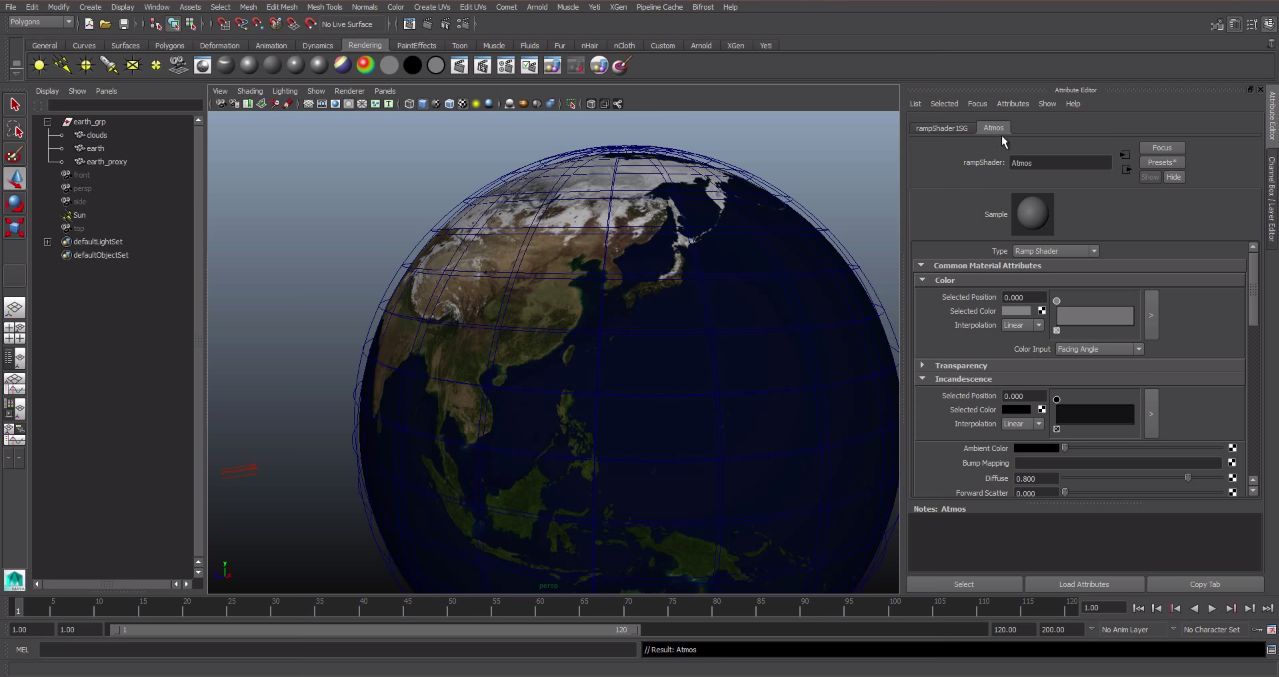
Day 50
Today I worked on the atmosphere around the world. Most of making of the atmosphere involves numbers and in the right tab of the picture you can see me creating the atmosphere.
Day 49
Today I started to work on the lighting on the earth in the animation. I liked what I got from my first couple of tries so here is the rendering of the earth with some lighting.
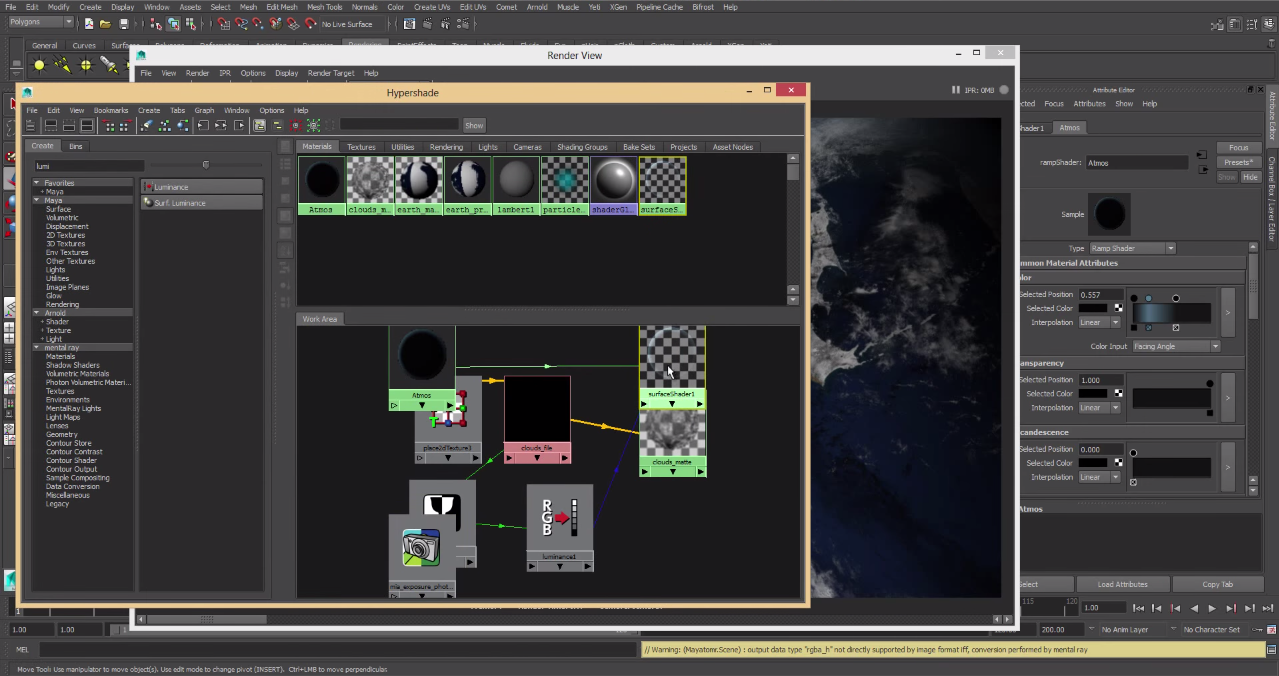
Day 48
In the bottom of the second window you can see that there are boxes with pictures and those are the nodes that I was working on. Today I had finally finished them because they need exact values that help with the light and the shading of the animation.
Day 47
In this project you won't see that many physical changes because most of it involves the animation and rendering it. Also the lighting. So today I sTarted working on nodes which are invisible that help the animation move along a steady pace. I took a while but I still haven't finished and on some of the textures.

Day 46
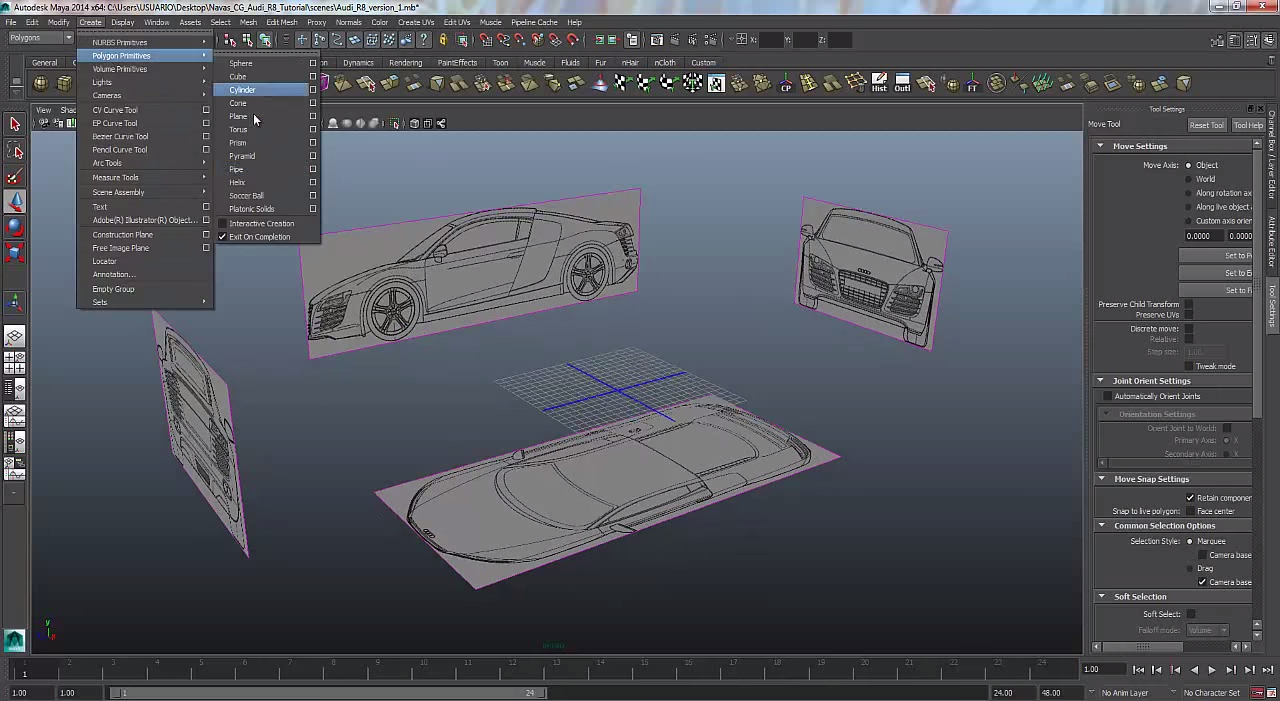
So today I started making my project. I'm making animation of the earth spinning around with some music in the background like in movies. So I first started out by making a sphere and then I went to the Nasa site to find pictures and then I began to create the earth in Maya.
Day 45
Today I finally finish my project so I quickly did some touch ups and here is my finished project.

Day 44
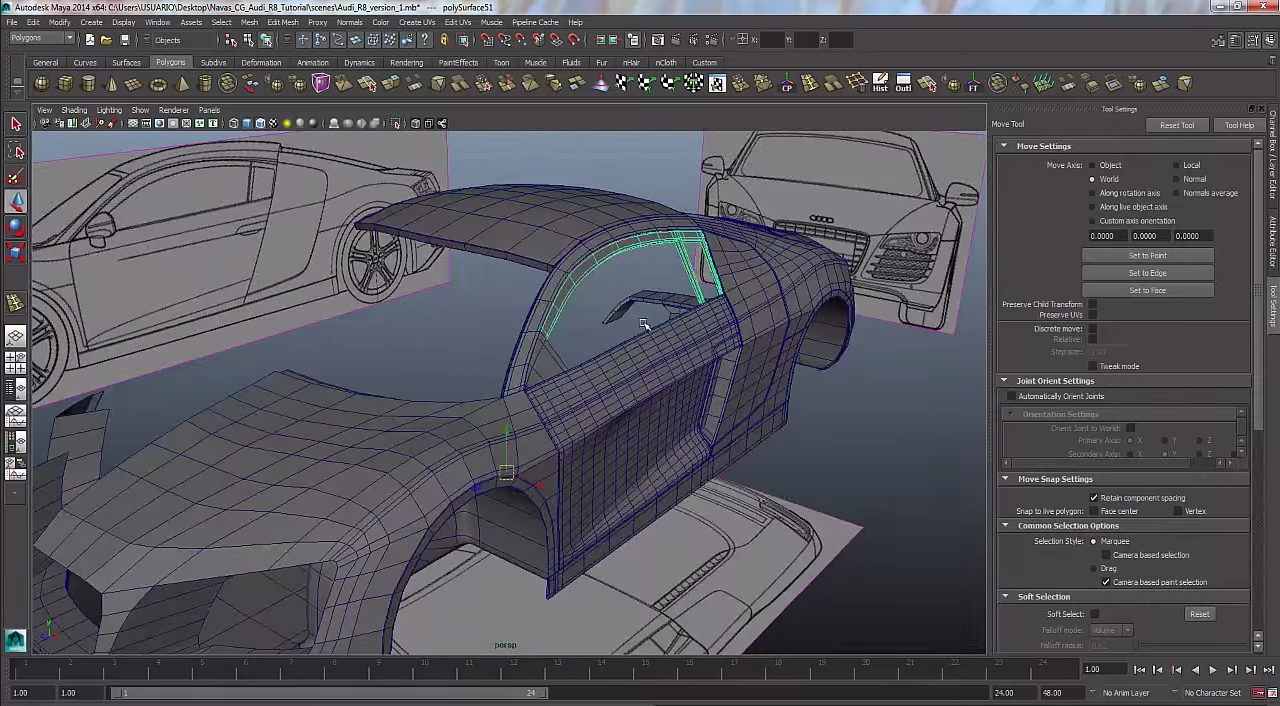
Here you can see me putting final touches on the back of the car. I was really happy with how the backend came out and surprised on how much detail I was able to fit into the this.
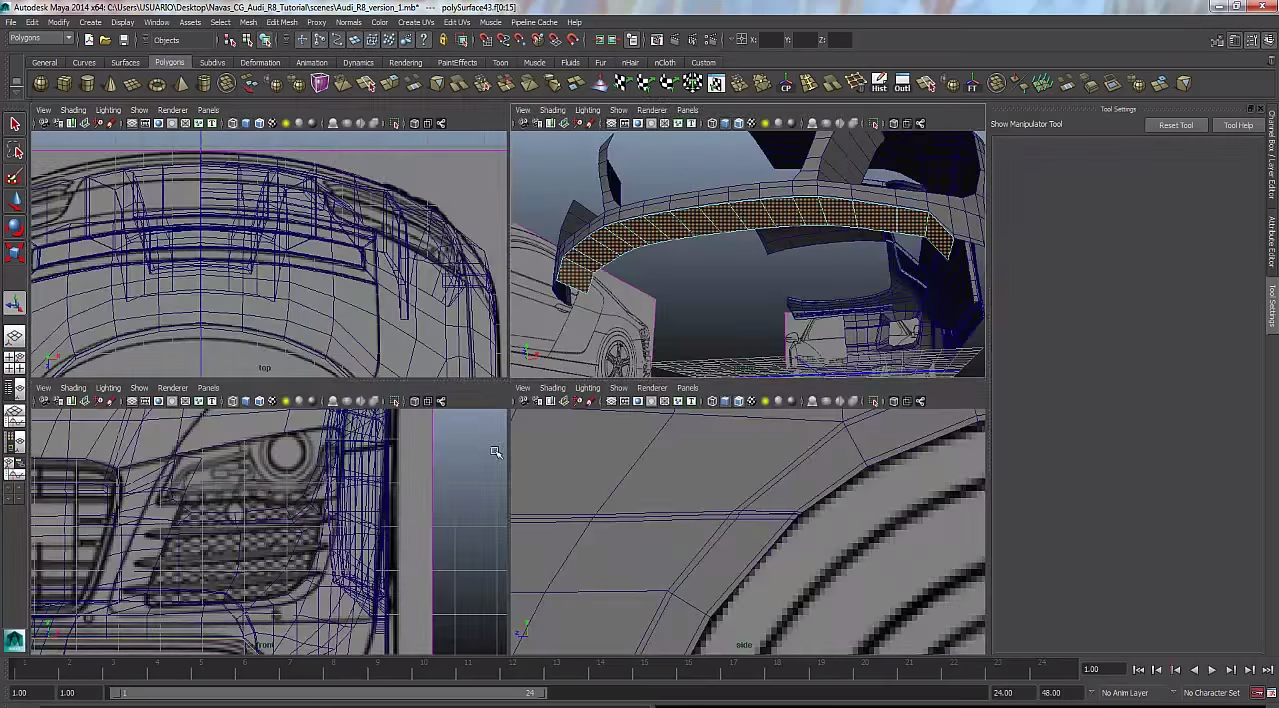
Day 43
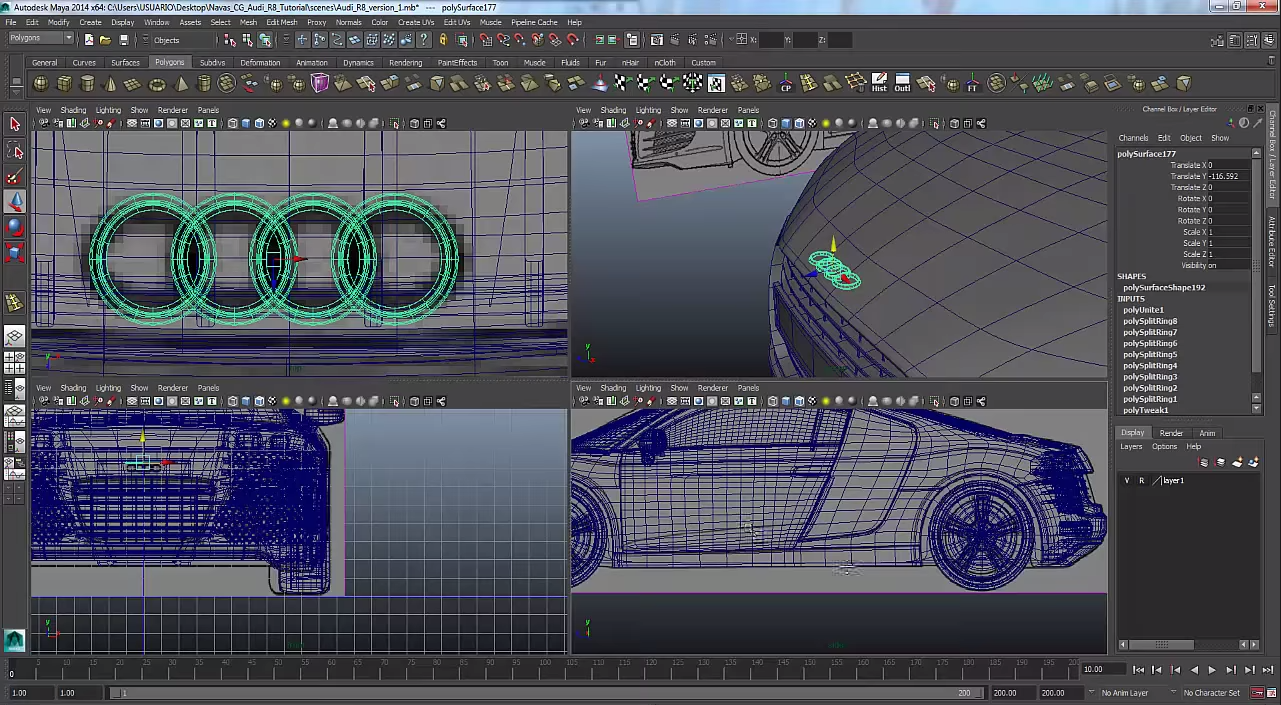
Here you can see me working on the Audi symbol which is a key piece that I wanted to create. I put a lot of detail into this piece because it really brings the car together. Im really happy with how it came out in the end of it with the rounded edges on the symbol.
Day 42
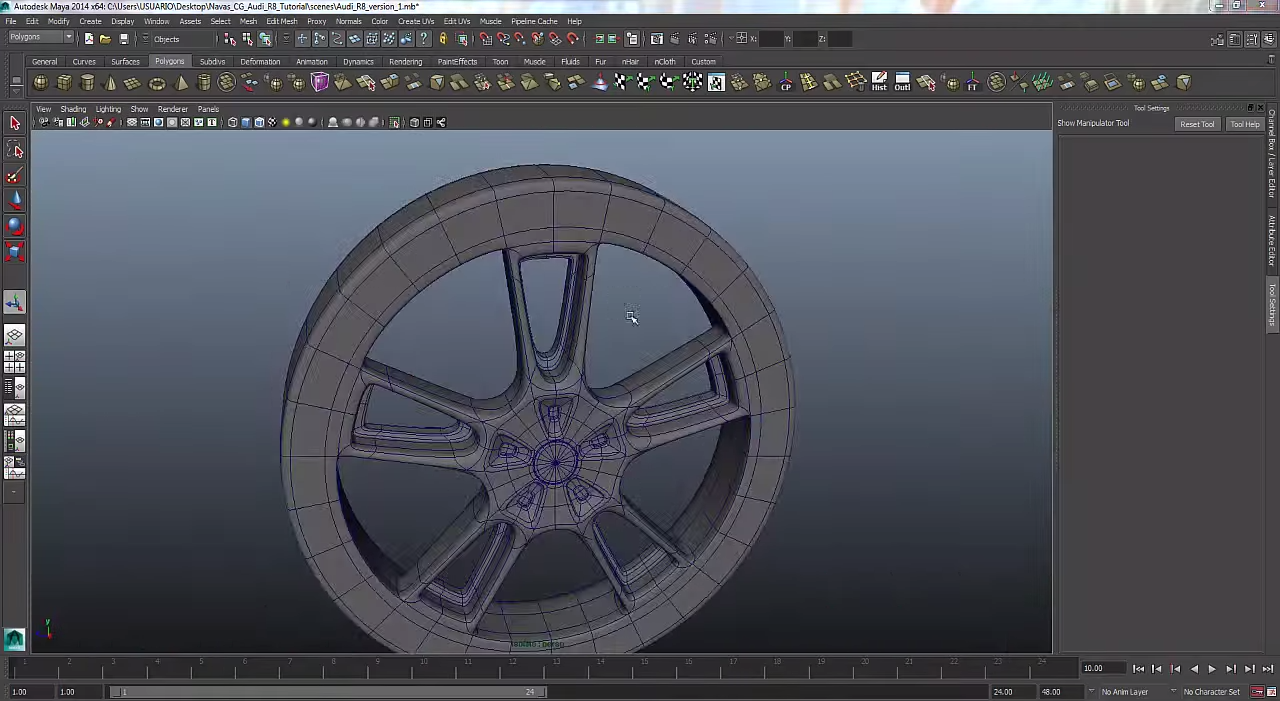
Here is the final product from the wheel that I created> It took me a couple of days to do but I'm quite happy with what I got in the end but the process of slowly edging into the wheel was difficult
Day 41
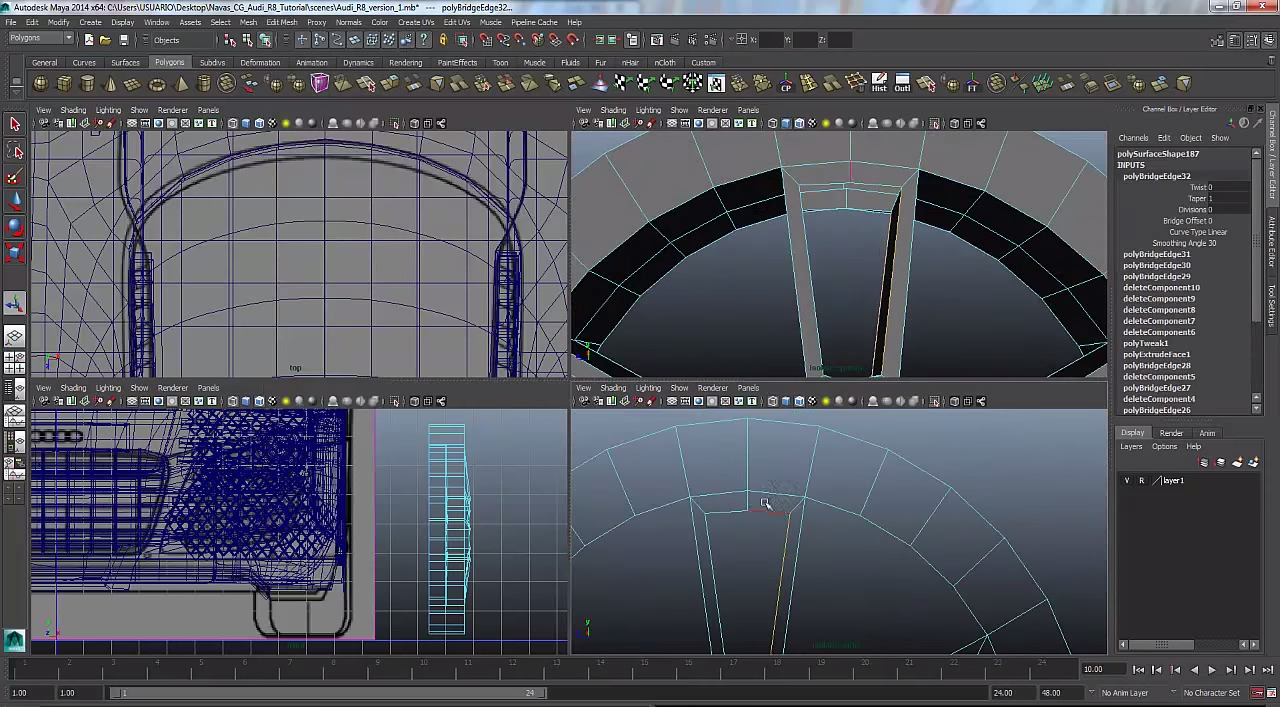
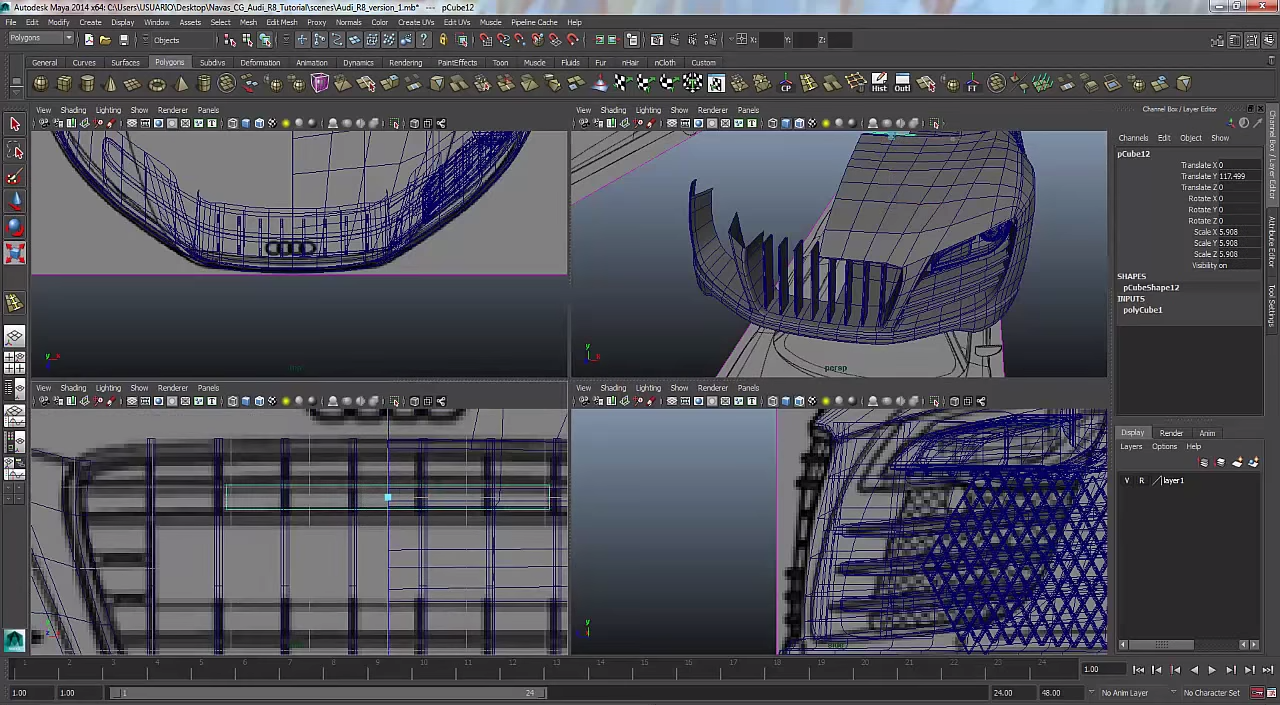
So today I'm still working on the wheel and in the picture you can see me etching away at the rim of the wheel from the blocky wheel that I created at first.
Day 40
So today I started working on a important part of the car which is the wheel I was trying to figure out on how to make it. So I made a rough design of the wheel and then I will slowly edge in in order to make it look awesome. 
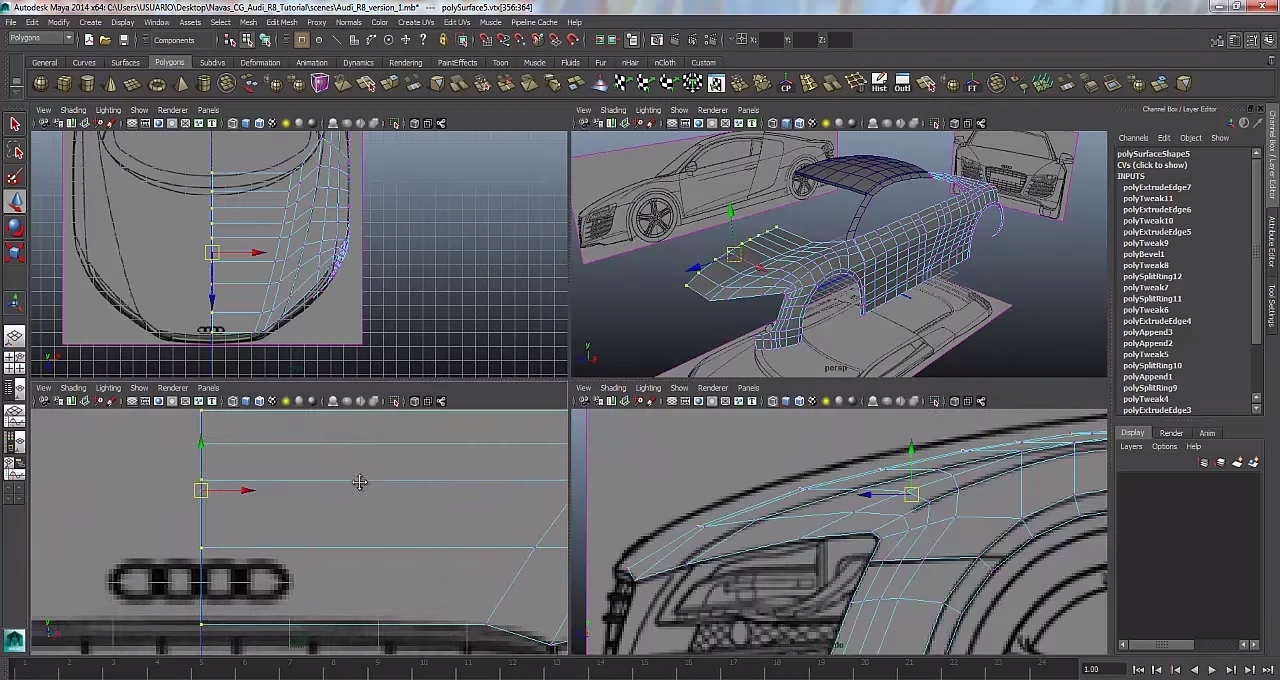
Day 39
Here you can see that I've done some work on the front because a giant chunk of the car isn't missing anymore but on the left side there is a huge chunk of the care missing which I sadly still need to work on>
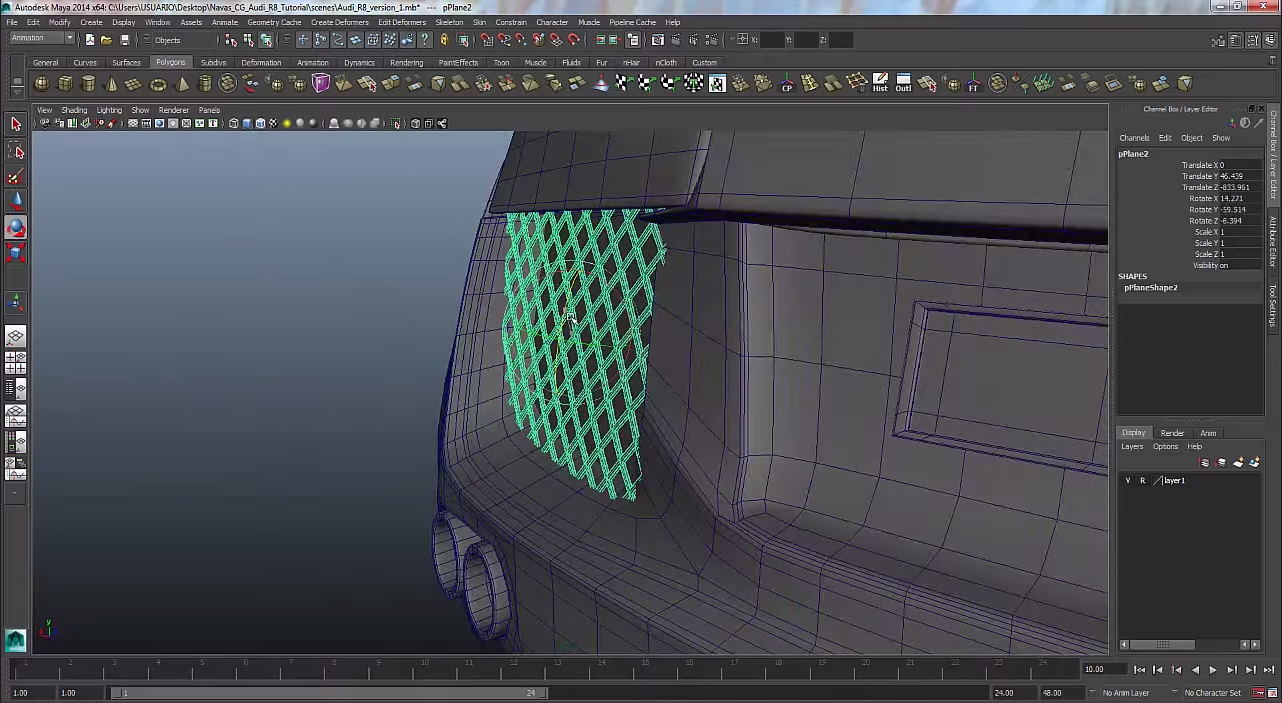
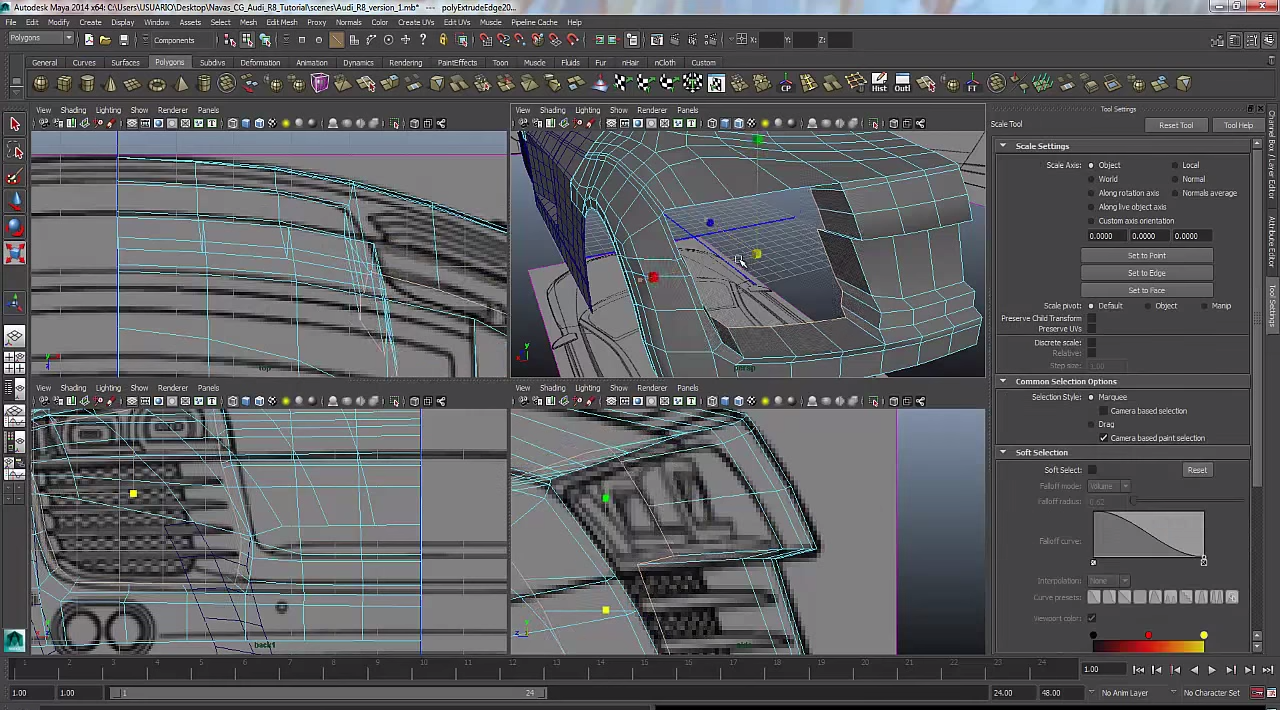
Day 38
So today I started to make the the highlight part in the screen shot. Which was a painful task in its own because it took the whole class in order to make. There were many tiny details involved in creating this piece of the car.
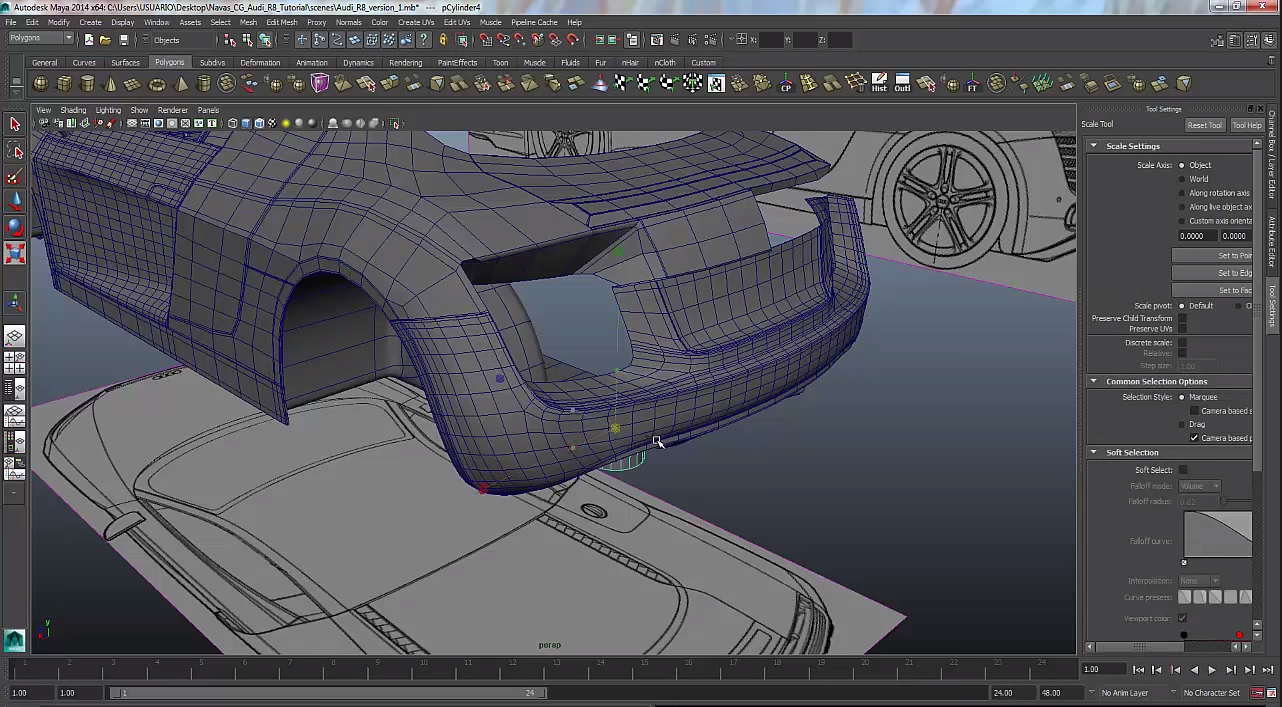
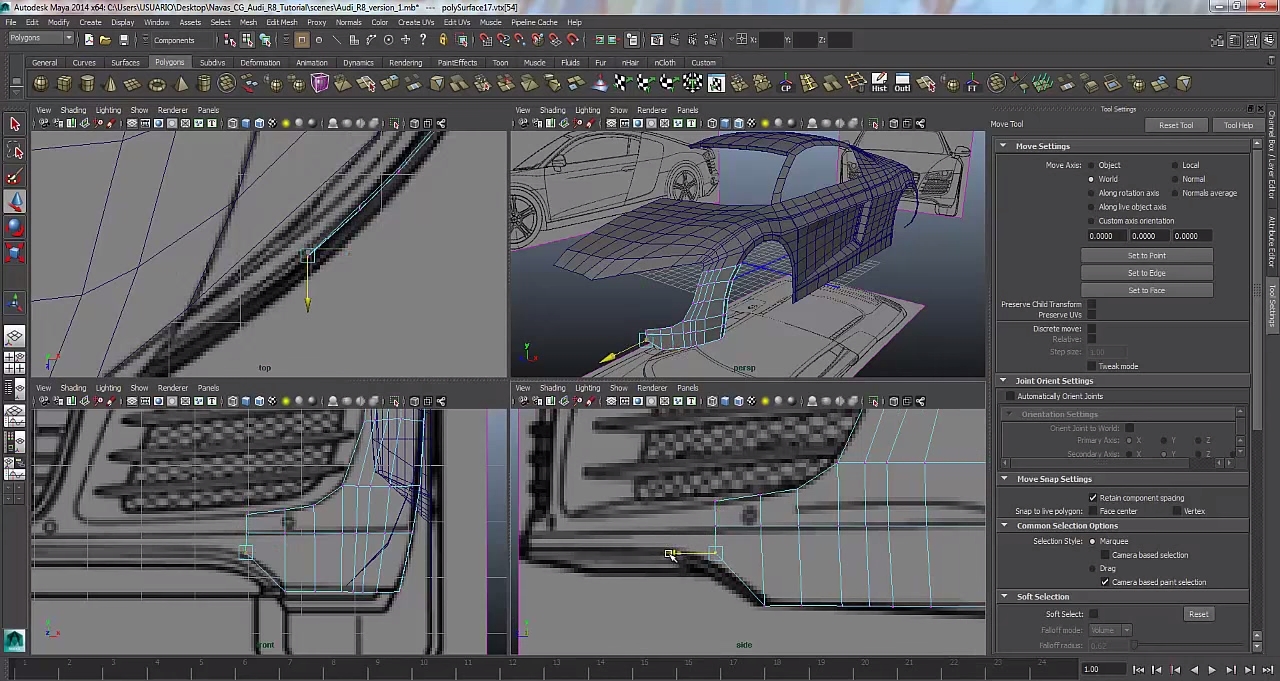
Day 37
So today after I was almost finished the front of the car I switched over to the back to get some work on the back done. So today I tried to finish the back of the car but I only got the fender done. I had a hard time creating it because of all the curves in the back of the car.
Day 36
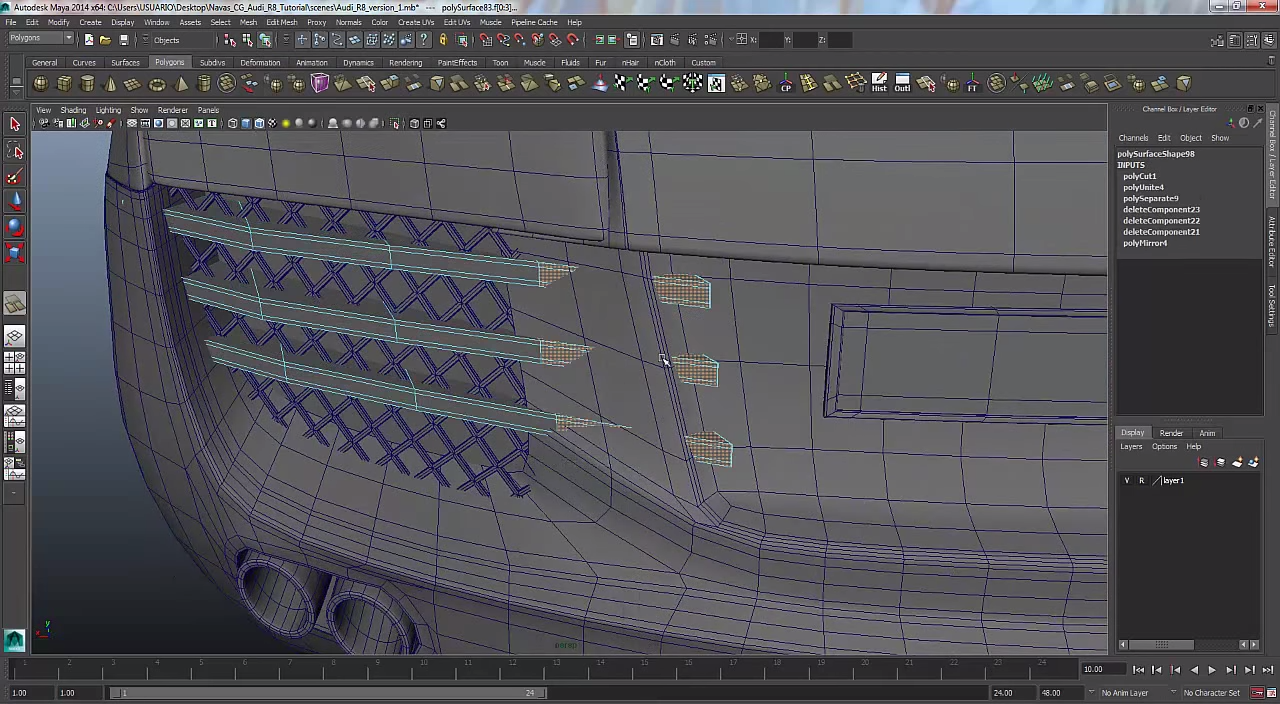
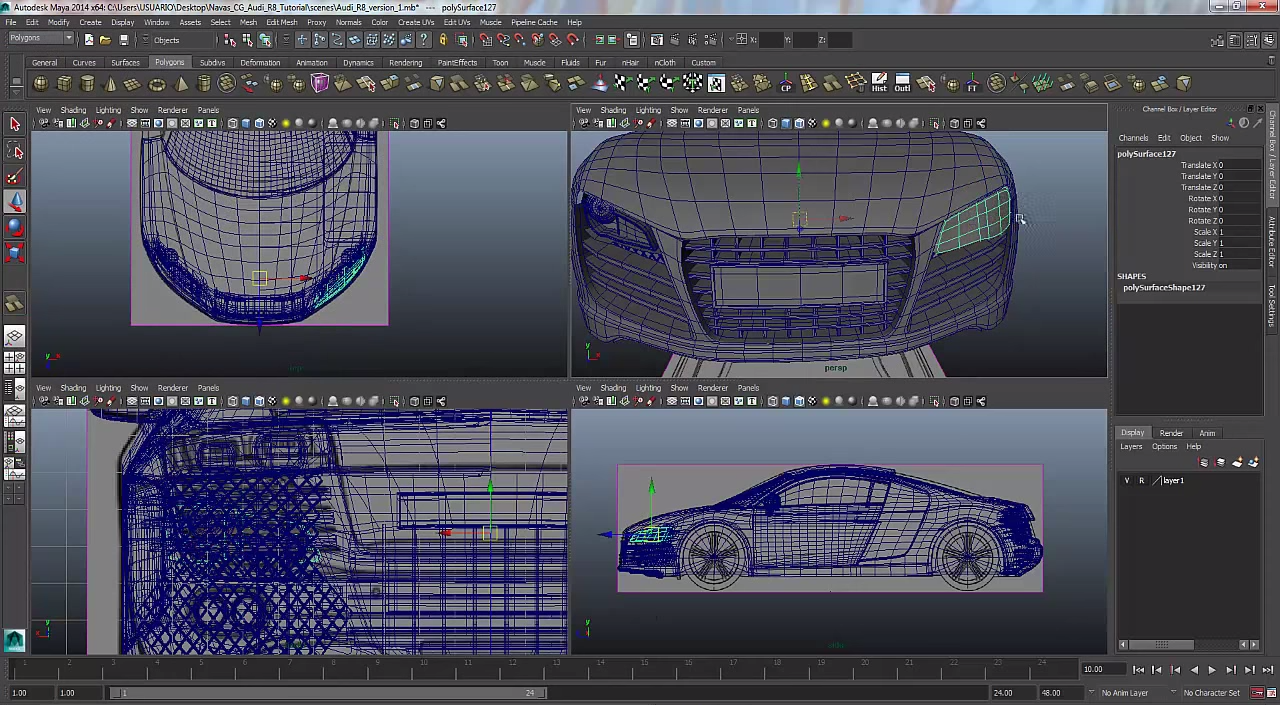
Today I finished the front hood of the car and did some touch up work on the sides of the car that weren't quite right. I also made the grates on the front of the car and the ones close to the headlights.
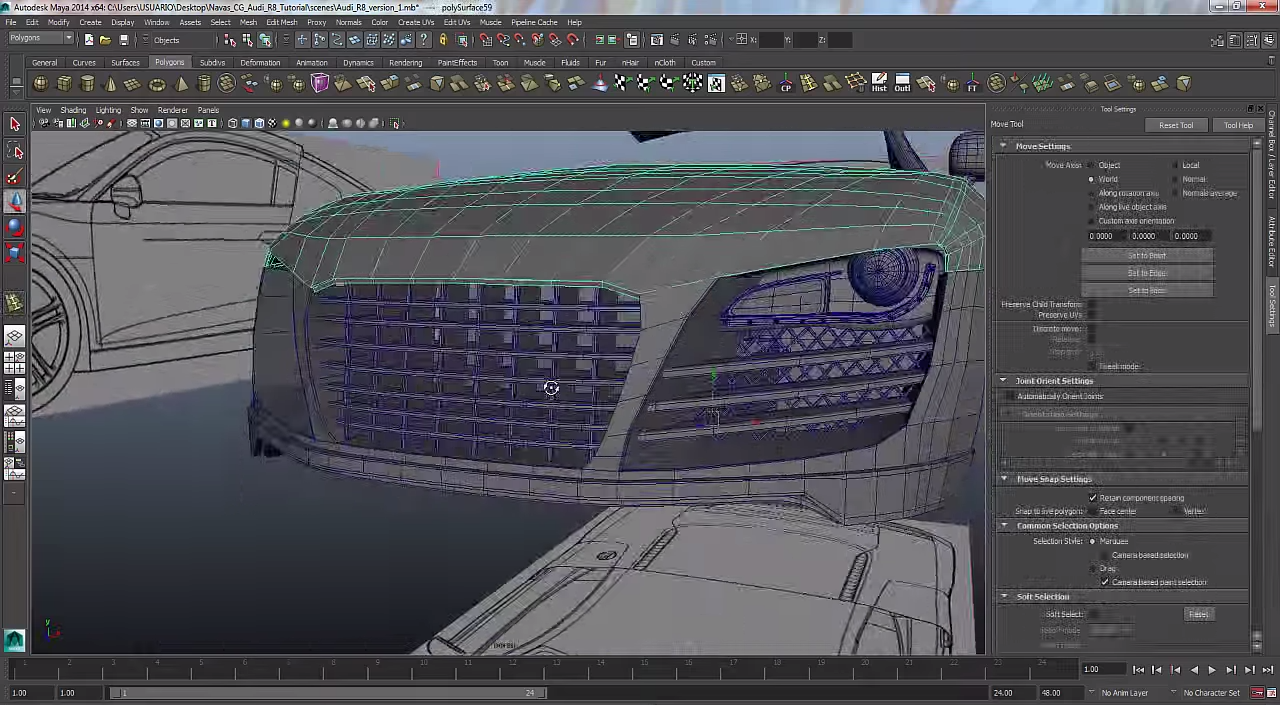
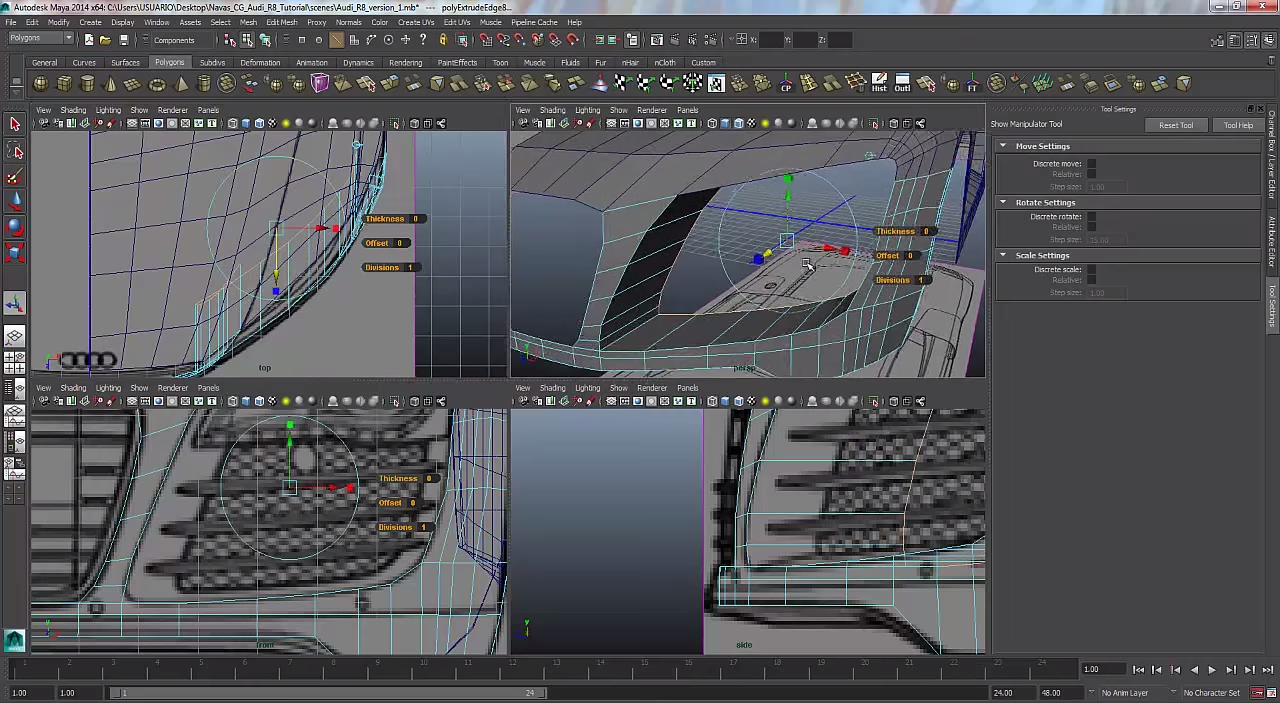
Day 35
Here you might see the car really come together because today I made the headlights and I made some progress on the front of the car which took some effort but it looks great. I also finished the work on the side of the car like the windows and the mirror on the side.
Day 34
So today I decided to take a picture of my car and what I have accomplished. In the light blue highlight you can see what I have been working on which is the windows of the car. Looking at the car it has nicely come together from the start of this project.
Day 33
Today I switch back over to the front of the car and started to work on the bottom of the car. Didn't catch any trouble today and got a bunch of work done on the car.
Day 32
Today I've mad lots of progress because I have the basics down on how to use the program. So once I was finished the frontal half of the car I switched over to the back so it will look like its coming together.
Day 31
So today I was working on the front part of the car today but it took me a while to figure out how to extrude on part of the car as seen in the picture. Then i was finally able to make some progress on the car. 
Day 30
So today I started work on the side panel again to make finer details like pushing in a part of the panel to make it look more appealing. I also started to make finer details around the area of the light so it will seem less weird looking. Also I made a better grove on the side of the car giving it a better look to the car. 
Day 29
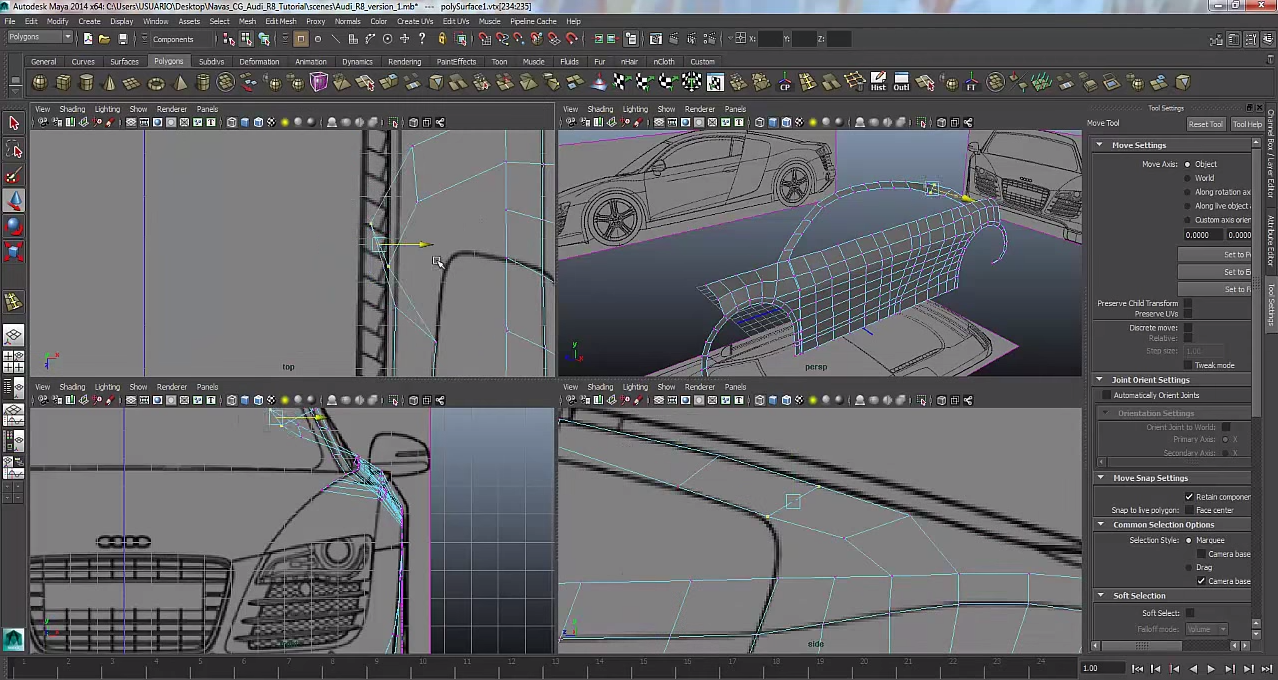
In the picture if you look at the four plains in Maya you can see I was working on the hood of the car. It wasn't as difficult I thought because the curve on the hood but even though it took me a while it wasn't as troubling as other parts of the car. After this I'm going to start to work on finer details on the car. 
Day 28
Today I started to extend the side paneling of the car in to the light area and I started on the roof of the car. The hardest part about today was creating the curve on the roof because every time I adjusted the roof it wouldn't work on another plain. So I had to make lots of tiny sections that are adjustable in order to get that curve right. In the picture you can see in the light area it also has tine sections that need more detail and attention in order to get right.
Day 27
Today I started work on the side paneling of the car which was simple enough at the start because I started at the side image of the car. Then once I was done that I had to go to the other plains in Maya to bring the side panels in line with the image. This part took me a while because once I brought something in line on another plain it wouldn't be line.
Tuesday, 27 January 2015
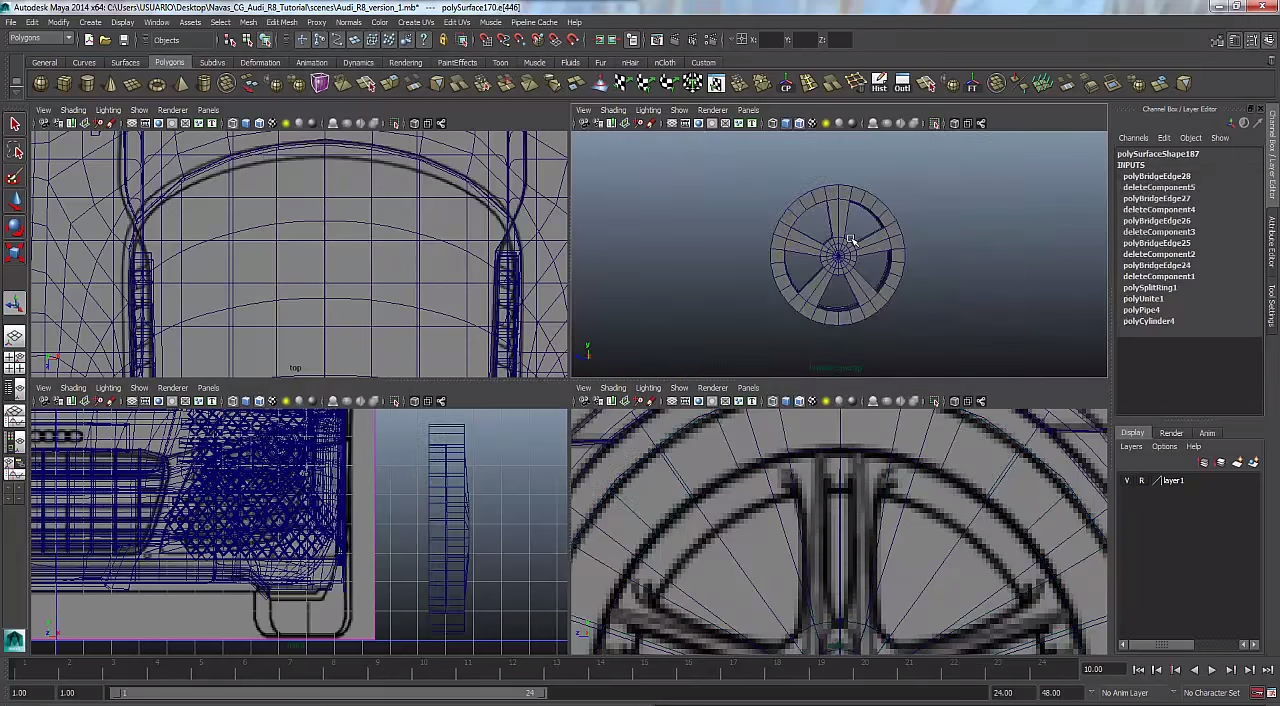
Day 26
So today I stared work on the wheels of the car on the Audi. As seen in the picture below i have the make the outer part of the wheel in four plains in Maya because if the design seems correct on one side the other side probably isn't right. During this process it took me many times in order to get just the wheel correct on the car but after that I started to under stand the basics of what to do in the four plains. 
Day 25
After some work on my animation project I was catching some trouble because the when I tried to render the animation it didn't work. So I decided that I will switch my project to making a car model in Maya. So I would a blueprint type sketch of a car in google imaged which used for starting my 3D model for my car. So I started by laying each picture of the car on a different view planes in Maya. With each photo I can do a basic outline of the car and it would be designed in the middle.
Subscribe to:
Comments (Atom)